Welcome to the new Brandguide experience! This article as well as Getting Started with Brandguide and Brandguide Customization Using CSS will walk you through how to migrate your content to the new experience. Editing capabilities on your existing Brandguide will be going away on September 1, 2023. On December 1, 2023, the legacy Brandguide editor will no longer be available.
This article will walk you through how to build your Brandguide using pages, sections, and blocks.
Pages
The highest organizational level of a Brandguide. Pages add up to make Brandguides.
Adding Pages
- Navigate to the Pages option in the sidebar.
- Select the Add page button.
- Name the page, and set the Slug.
- Select, Save and create page.
Deleting Pages
In the Pages and sections flyout, select the trash icon next to the page you want to delete. If a page is deleted the action cannot be undone and blocks and sections housed within the page cannot be recovered.
Sections
Sections are an organizational level of a Brandguide that is nested within pages and consists of blocks.
Blocks
Blocks are nested within sections. You can locate blocks in the block flyout on the left-hand side. Blocks are Brandguide components like images, text, color, and code that live in the canvas area as content.
Adding Blocks
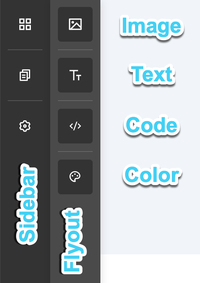
- Navigate to the left-hand sidebar and select the block option.
- This will produce a flyout with block options for images, text, code, and color. Content that you can add will have a dotted line around it.
- Select the block and drag it into the canvas area. Purple lines on the canvas indicate an approved drop zone.
- Release the click to drop the block into the canvas.
Deleting Blocks
- Select the trash icon on the block. Do note that when you delete a block, it can’t be recovered.
Rearranging Blocks
You have two options:

- Drag and drop the block somewhere else on the page.
- Use the arrow to the right of the block content to move the block up and down the page.
Image Blocks
Image blocks allow you to seamlessly add Library content to your Brandguide. This means that if an asset is updated in Library then the asset will automatically be updated in the Brandguide as well. This experience is powered by CDN. To promote brand consistency you are unable to upload outside images directly to Brandguide. They must come from your Library.
Supported Image Types
- APNG
- AVIF
- GIF
- JPEG
- PNG
- SVG
- WebP
Adding Images
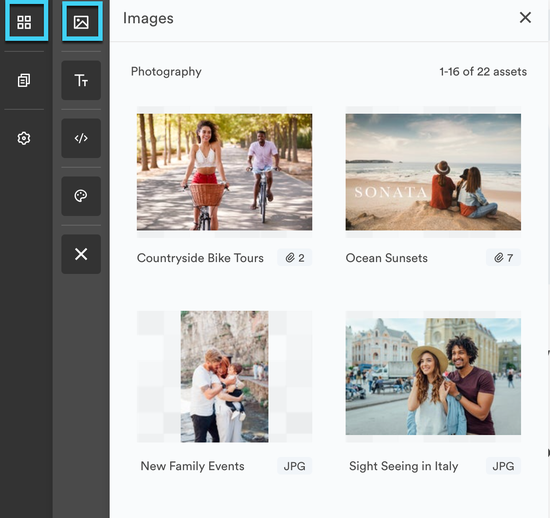
- Select the image icon in the left-hand flyout.
- Another flyout will appear with a Library experience. The Library or Collection that is associated with your Brandguide will appear as a default.
- To choose another Library or Collection select the black arrow at the top of the flyout.
- Locate the image you want to use and add it in one of the following ways:
- Drag and drop the image onto the canvas.
- Hover over the image and select the ellipses menu and choose [+] Place.
- Hover over the image and select the ellipsis, choose view details, then choose [+] Place.
- Hover over the image and select the ellipsis, choose view details, then drag and drop the image.
Changing Image Size
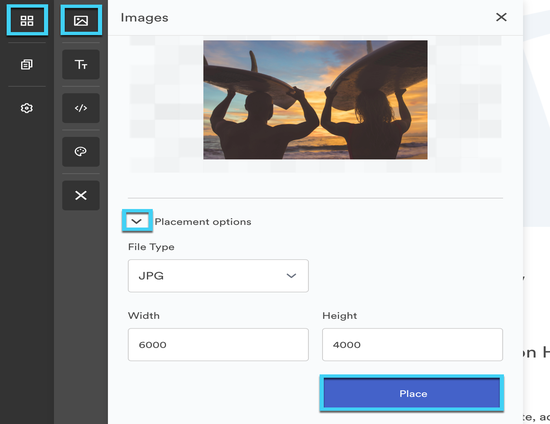
- Hover over the image and select the ellipsis.
- Choose view details.
- Open up the placement options.
- Alter the width and height of the image.
- Select Place.
Do note: this is currently the only way to manipulate the image size.
Text Blocks
Adding text to your Brandguide can be done by dragging and dropping a text block onto the canvas.
Altering text styles
When text styles are modified at the global settings level they will affect everything at the Brandguide level. When modified at the block level they will only affect that specific block.
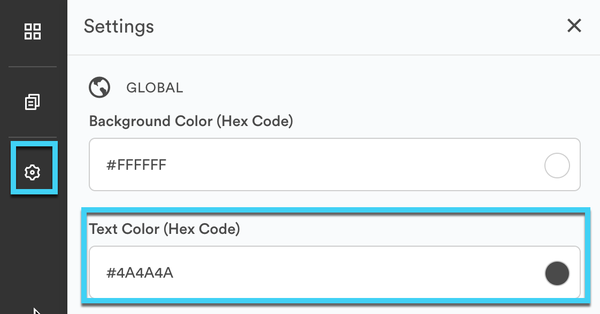
Default text
- Navigate to settings.
- Input your hex code into the text color box.
This will affect any text on the page, including text blocks.
Block-level text
- Hover over the text block.
- A WYSIWYG editor will appear to alter fonts, sizes, text colors, and formatting such as adding bullets or links to the text.
- Changes made here will only affect the selected block.
Typography
At this time users are unable to upload or sync fonts with a Library to Brandguide. The fonts available in the dropdown are sourced from Google Webfonts. Advanced users can add third-party fonts using CSS. For more information visit the Brandguide Customization Using CSS article. The Library support team will not be able to help you with building your own code.
Color Blocks
Code Blocks
The code block works with standard HTML / CSS. Using this block is only recommended if you have advanced knowledge of CSS. Customer support will not be able to help you when you are implementing your own code into Brandguide. Code will be sanitized in an effort to prevent XSS attacks.
Editing Code Blocks
When an HTML/CSS block is added to the page you can add custom code to the Brandguide. HTML will be added to the particular location in the page and CSS will apply to whatever areas of the canvas it is specified to affect. Once finished with the code, select the eye icon to view changes.
CSS can also be edited at the global level under settings, since it is best practice to have those styles set at the top level and cascade down.
Adding Video Using HTML
The flyout image block does not support the addition of video content blocks. However, using the Video embed code, video can be added via custom HTML and video assets from Library. Customer support will not be able to help you when you are implementing your own code into Brandguide.
- Open the asset modal for the video.
- Navigate to the Embed tab.
- Locate the Video Embed Code, and select Copy Link.
- Paste the code into the HTML block.
Sanitizing Code Blocks
Some code and elements within it will be sanitized for security purposes against XSS attacks.
Deleting Code Blocks
Deleting code blocks will remove the block and all code written within the block. CSS written at the global settings level will remain unless edited in the settings flyout.
Moving Code Blocks
Moving the code block after HTML and CSS has been written has the potential to break the block or the intended effects of the code. For best results, write the code after the position of the blocks has been set.
Adding color blocks to your Brandguide can be done by dragging and dropping the color onto the canvas.
Color Sources
The color block is sourced from the Library or Collection associated with the Brandguide. If no colors appear in the Brandguide, that means none have been added to the Library or Collection. To add colors, add them as an asset in the Library.
Syncing Colors
When a change is made to the colors at the Library level, the change will also automatically reflect within the Brandguide. If a change is made in Library and the change is not reflected in Brandguide, you can manually sync by selecting the circular sync button at the top right of the color flyout.
Color Modes
You can alter which color modes appear in both the flyout and the canvas.
- Select the settings icon in the top right-hand corner of the color flyout.
- Select the checkboxes to display HEX, RGB, and CMYK and select Save.
- A copy icon will appear next to the color value.