The Bulk Management feature allows for admins to easily manage tags, custom fields, labels, share links and rules all in one place. This is a great way to make sure there is consistency throughout Media Manager in your tags and custom fields while also managing all share links.
Note
Not all plans have access to all functionality in bulk management. Please consult your account manager if you have any questions.
To reach the bulk management screen:
Within the Library navigate to Settings > Bulk Management.
From there, you will be prompted with a new screen that will allow you to choose either Tags, Custom Fields, Labels, Share links, Rules, FTP or Upload links to manage.
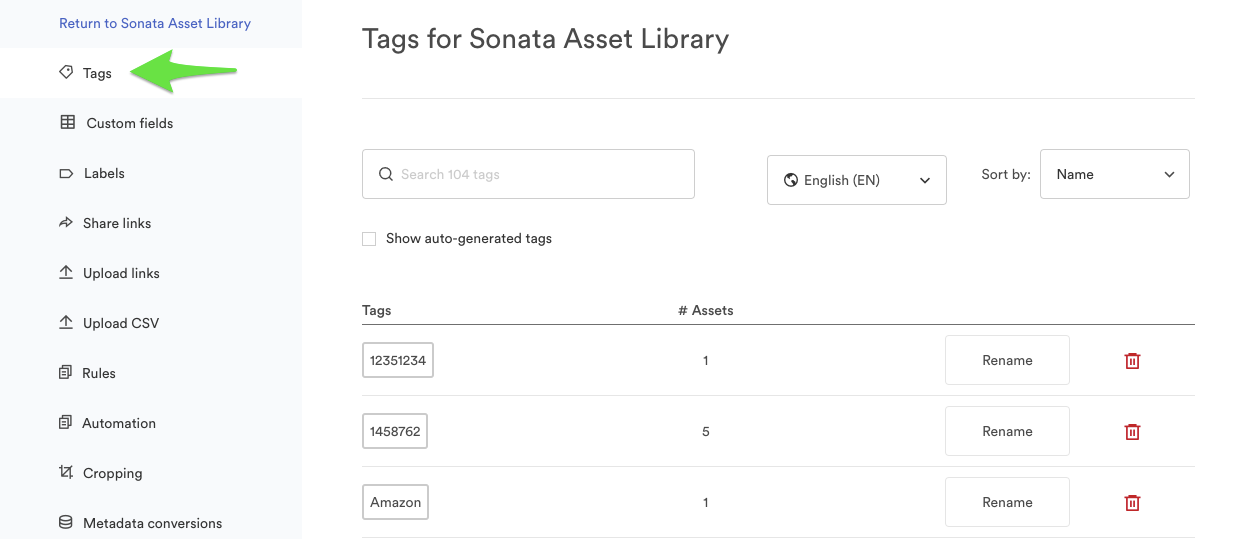
Tags
The bulk management of tags will allow you to easily edit tag names or remove tags. This will show all tags on all assets within the library. By editing a tag name here, it will update for all assets that have that associated tag. The same is also true if a tag is deleted, it will delete for all assets that have that associated tag.
Custom Fields
For Custom Fields and Tags you have the option to update the name, delete the term and see how many current assets are associated with it.
By clicking on the Tag or Custom Field it will take the user into the Library to see which assets are associated with that term.
By clicking on the Tag or Custom Field it will take the user into the Library to see which assets are associated with that term.
Checking the prioritized button will list the custom field at the top of the detail page as well as the search grid if the "show custom fields" is toggled to be on within View Options.
Pro Tip
Click on the number next to the field name to see the associated assets. There you can search on the specific field values to make changes.

PRO-TIPS:
1. If controlled custom fields are enabled on the Library, all Custom Field keys will be displayed and the user can select the values from a dropdown.
2. If the Custom Field key has restricted values, the values will appear in a dropdown. Otherwise, they will have a text input.
3. Clicking on the values for a Custom Field will allow the user to rename/delete the values in bulk.
4. It takes a minute to process, so bulk operations may not be immediately available.
Labels
Labels allow you to organize content into a hierarchy view. Here you can set the label nesting and arrange the order. Then you can use either rules to automatically move content into labels, or use the bulk management toolbar to select assets and add to labels. Note assets can live in multiple labels.

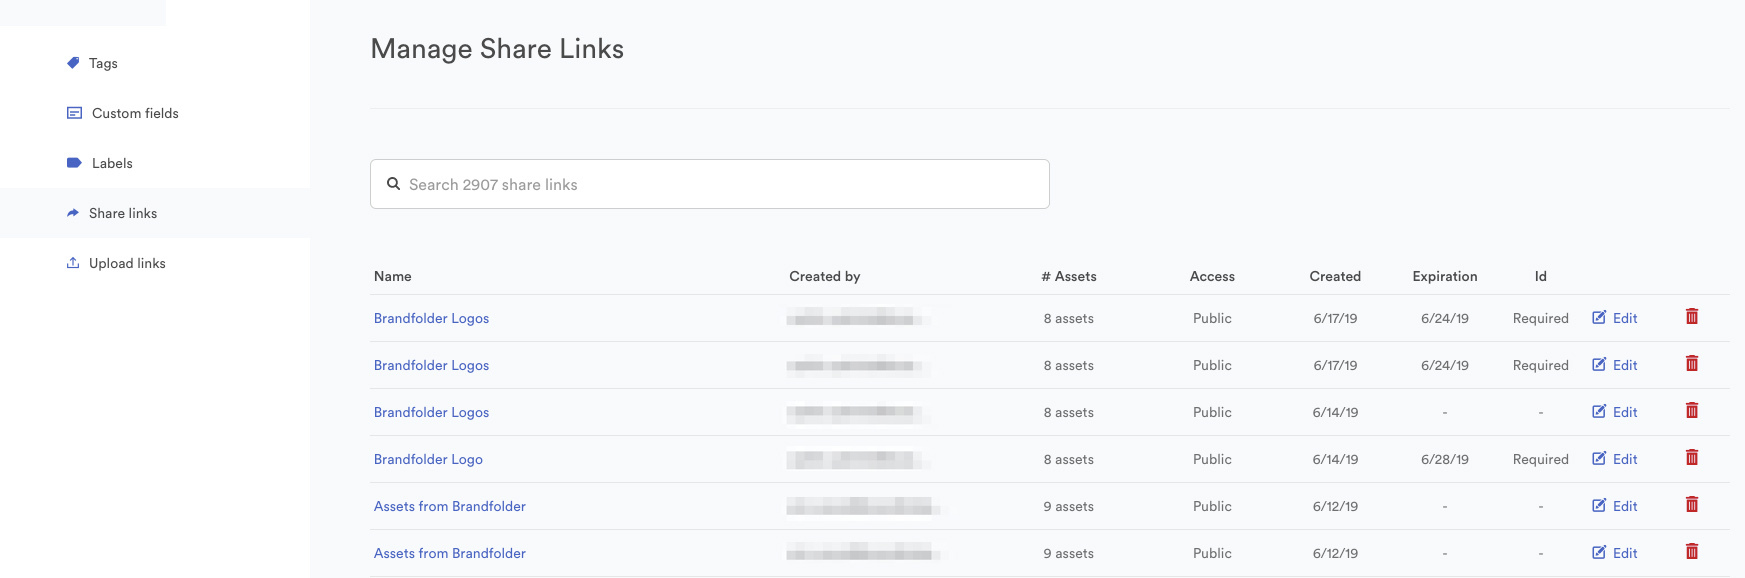
Share Links
Within the Share link option, a user is able to update the share link, see what assets are associated with it as well as delete any old links that should no longer be circulating.
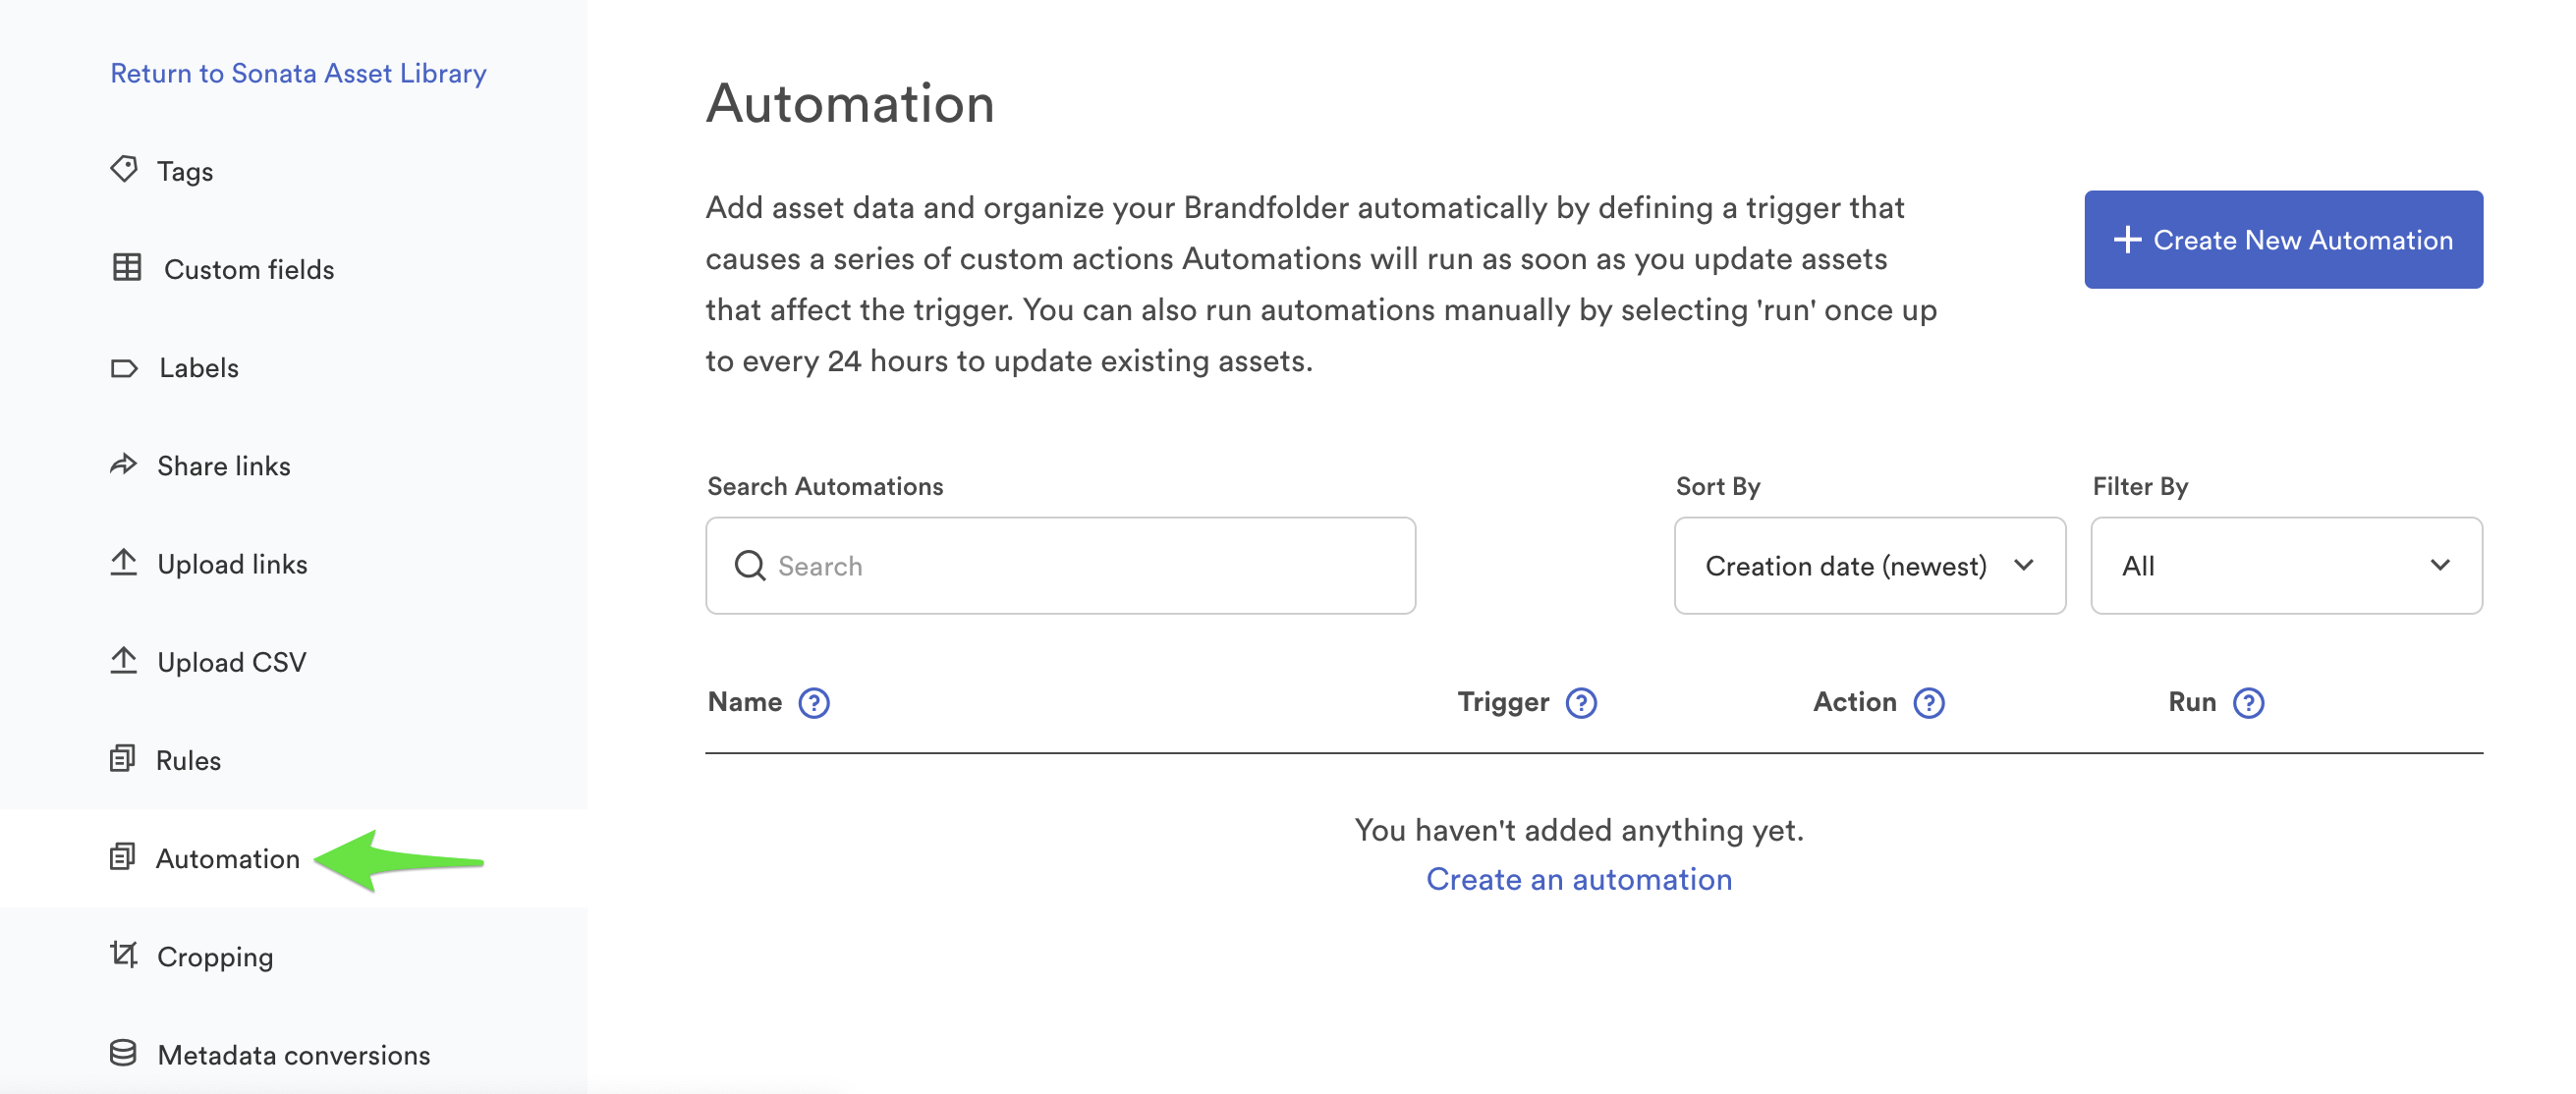
Automation (formerly named Rules)
Automation allows users to define simple taxonomy templates that are applied to assets based on some criteria. Users can define a trigger that will result in a series of custom actions. They will run as soon as you update assets that affect the trigger.
Note: Automation only runs at the time of asset ingestion, they do not automatically run on existing assets in the system. However, automation can be run again at any time, more details on that below.
1. To add a new automation, click on the 'Create New Automation" button in the top right-hand corner of the page. A new area will appear where components of the automation will be built out.
2. Name the automation. Use descriptive language or a summary to capture what the automation does as this is what will be searchable.

3. Set the trigger. Only one trigger can be defined, but multiple items within that trigger can be set at trigger criteria. Once the trigger is set select Save Trigger.
For example, multiple tags can be used to trigger an automation. These triggers will work if ANY of the tags are added. So if tag ‘English’ or tag ‘French’ is added, the automation will run.

4. Define the action(s). Multiple actions can be automated from a single trigger. (Refer to the chart below for supported combinations.)

Each action must be defined and saved by clicking on the Save Action button before adding another action.
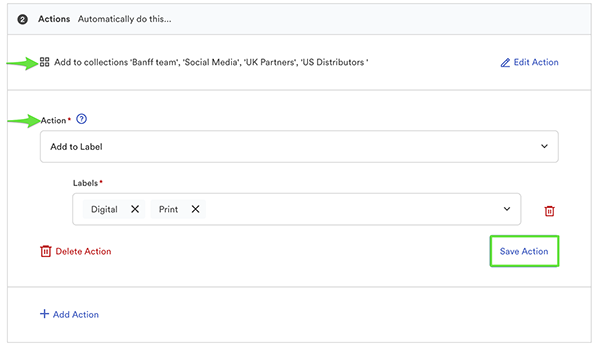
For example, for the trigger of the tag English you could set the action as add to multiple collections (Banff team, Social Media, UK Partners, and US Distributors) and add to multiple labels (Digital and Print).
5. Once finished building out your automation select Create Automation in the bottom right-hand corner. If you need to start over you can select the Reset button in the bottom left-hand corner.

Supported Automation Trigger and Action Combinations:

Legacy Rules
Legacy ‘Rules’ will be in the new ‘Automation’ list. They will be given default ‘Names' based on the trigger and action in the rule. If a trigger is shared across 2 or more legacy rules, these will now appear as 1 ‘Automation’ with a shared trigger and multiple actions. This helps users better manage their Automations.
If you have any questions about Bulk Management please contact enterprisesolutionssupport@gettyimages.com.